
Converve offers a built-in Email Campaign system to facilitate communication with event participants. Event Admin can select from built-in templates for common campaigns or create customized campaigns tailored to specific event needs. Campaigns can be targeted to all attendees or specific participant groups.
Adding Email Content
Email campaign content may be created from scratch with original content or added using existing templates for common campaign types.
To Add Original Email Content:
-
In the back-end go to Email Campaigns.
-
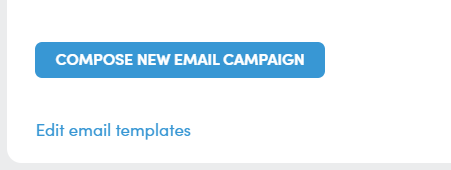
Click Compose New Email Campaign to start a new campaign.
-
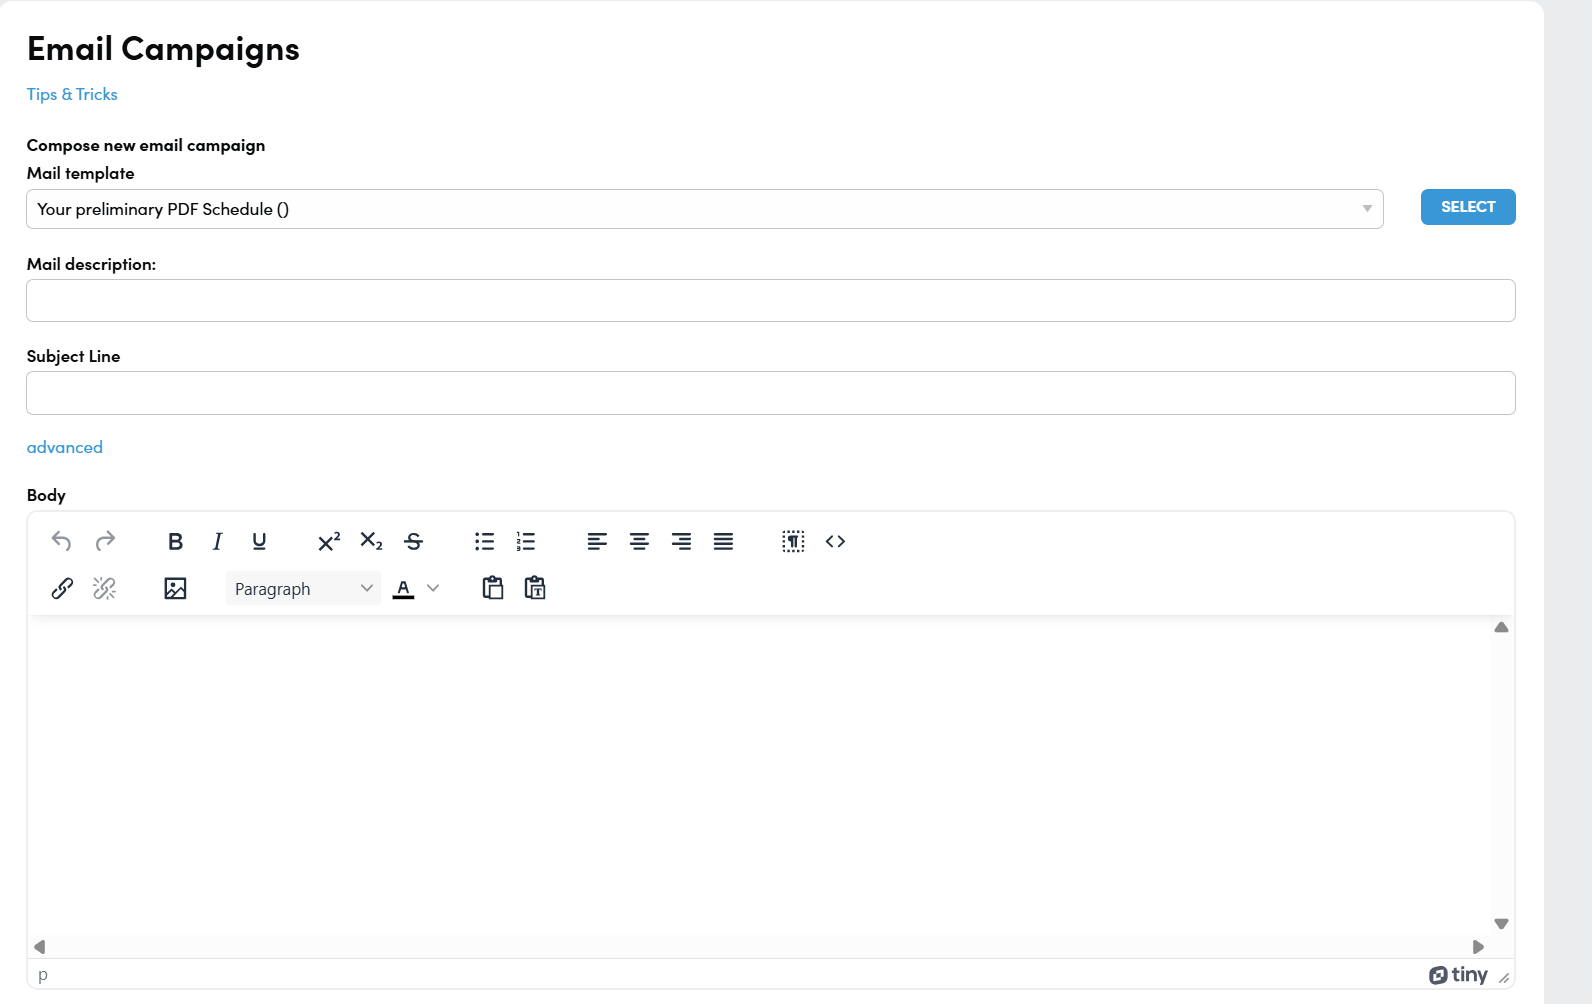
To create a Custom Campaign, leave the first field – Mail Template – unselected and proceed to the next field.
-
Mail Description – Enter brief internal title or description for easy identification.
-
Subject Line – Enter the subject line that will appear in the email sent to participants.
-
Body – Compose the main content of the email.
-
Mail Merge Variables may be inserted to personalize content or add individualized, dynamic, links.
-
Available Variables are listed at the bottom of the Email Campaign window.
-
Available Variables:
-
“%event_name%” => Event name
-
“%email%” => Username (E-Mail the attendee has registered with)
-
“%login_link%” => Link to Login-Page
-
“%greeting%” => Greeting (gender specific, can be defined after clicking “advanced”)
-
“%pers_first_name%” => Person first name
-
“%pers_last_name%” => Person last name
-
“%open_requests%” => Requests that need to be approved
To Add Email Content Using a Template:
-
In the back-end, go to the Email Campaigns section.
-
View and edit existing templates by selecting Edit Email Templates. New templates can also be created from this page.
-
To start a new campaign using a template, click Compose New Email Campaign.
-
In the Mail Template field, choose a template from the dropdown menu and click Select. The Mail Description, Subject, and Body fields will be auto-filled with the selected template content. Edits can be made as needed.
-
Mail Description: This internal field is the campaign title or label. It will be auto-filled by the template but can be edited as needed.
Selecting Email Recipients
After the content has been finalized, define the group of recipients.
-
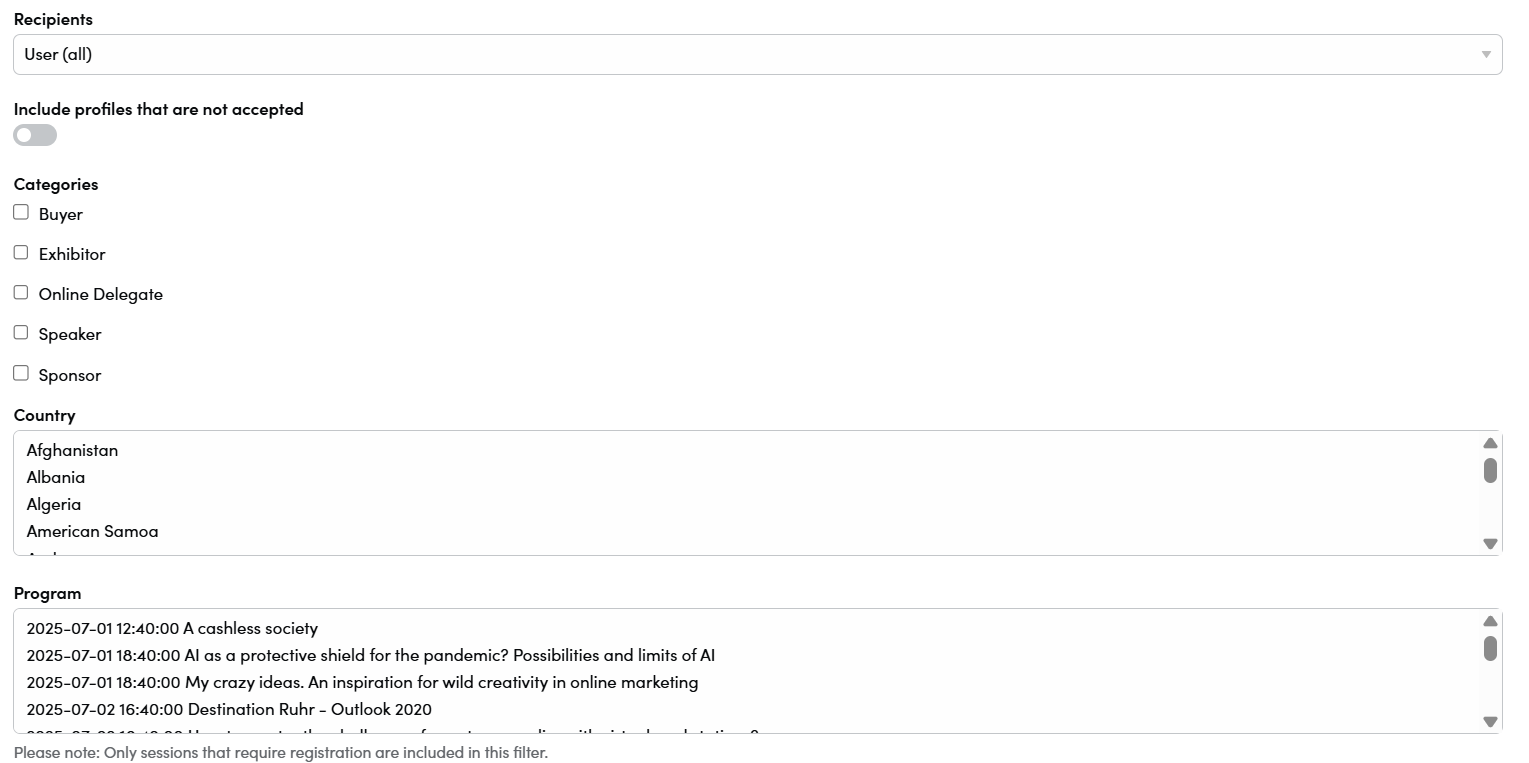
Select a Recipient Group: Use the Recipient dropdown menu to choose from the following groups:
-
Company Admins – Users with Company Admin roles.
-
Invitee List Contacts – Contacts added to the Invitee section who have not yet registered to attend the event.
-
Users (all) – All active users within the platform.
-
Users (with open requests) – Users with pending meeting requests.
-
Users (inactive) – Users who are deactivated/on hold/cancelled.
-
Users (with meetings) – Users who have scheduled or confirmed meetings.
-
Validators – Users with validation responsibilities.
-
-
Recipient Group Segmentation: Additional filters may be applied to further segment the selected Recipient Group. Available filter options include:
-
Include Profiles That Are Not Accepted – Include users whose Company profiles do not have the status Accepted.
-
Categories – Filter recipients by attendee type (e.g. Buyer, Exhibitor, Sponsor)
-
Country – Filter recipients by participant’s country
-
Program Session – Filter based on the program session a recipient is registered for.
-
Inserting Attachments
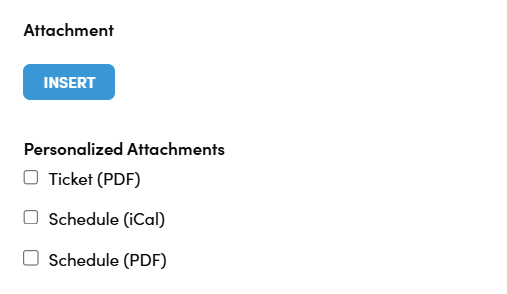
Attachments can be added to provide additional materials or personalized documents. Two types of attachments can be added: General and Personalized Attachments.
-
Attachments – Standard documents added as regular email attachment. Select Insert to select the file to attach.
-
Personalized Attachments – Generated for each recipient based individual event data. Available options include:
-
Schedule (PDF) – Downloadable, personalized schedule in PDF format.
-
Schedule (iCal) –iCalendar file for calendar integration.
-
Ticket (PDF) – Personalized ticket or badge for event access in PDF format.
(Badge design needs to be added first, please ask your Project Manager for more information.)
-
Saving the Email Campaign
After completing all steps, click Save before closing the Email Campaign window. This ensures all content, settings, and recipient selections are preserved. You can reopen the editor to make changes anytime.
Previewing the Email Campaign
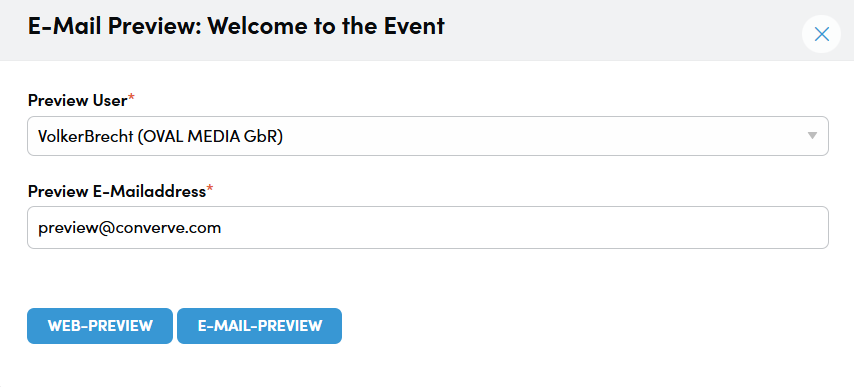
Preview the email campaign to ensure content, formatting, and personalization are displayed correctly. Two preview options are available: Web Preview and Email Preview.
-
Save and close the Email Campaign window.
-
On the Email Campaigns page, locate the newly created campaign
-
Click the elliptical menu (three dots) next to the campaign name and select Preview.
-
Choose one of the following preview methods:
-
Web Preview – Opens the email in a browser.
-
Email Preview – Sends a test email to the specified email address.
-
Please note: A browser may display the EMail design differently to an Email program like Outlook. For accurate previews we recommend to always use the Email preview function.
Sending The Email Campaign & Verifying Receive Status
Once previewed and finalized, the campaign can be sent. Follow the steps below to initiate delivery and verify recipient status:
-
Locate the campaign on the Email Campaigns page.
-
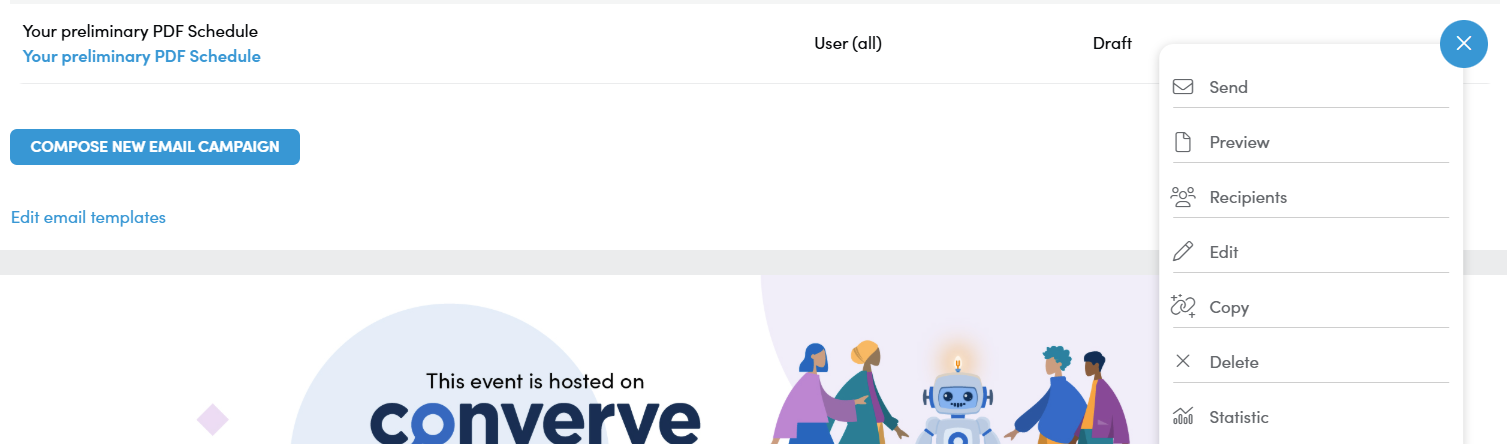
Click the elliptical menu (three dots) next to the campaign name and select Send.
-
In the confirmation dialog box, click Send again to confirm.
-
To verify send and receive status, click the elliptical menu (three dots) next to the campaign name and select Recipients:
-
The Recipient List shows the status for each recipient: Sent, Read, or blank (not yet delivered).
-
From this view, the campaign can be resent to All or Selected Recipients as needed.
-
Copying An Existing Email Campaign
To save time when creating similar campaigns, an existing email campaign can be duplicated and used as a base for new content.
-
On the Email Campaigns page, locate the campaign to be copied.
-
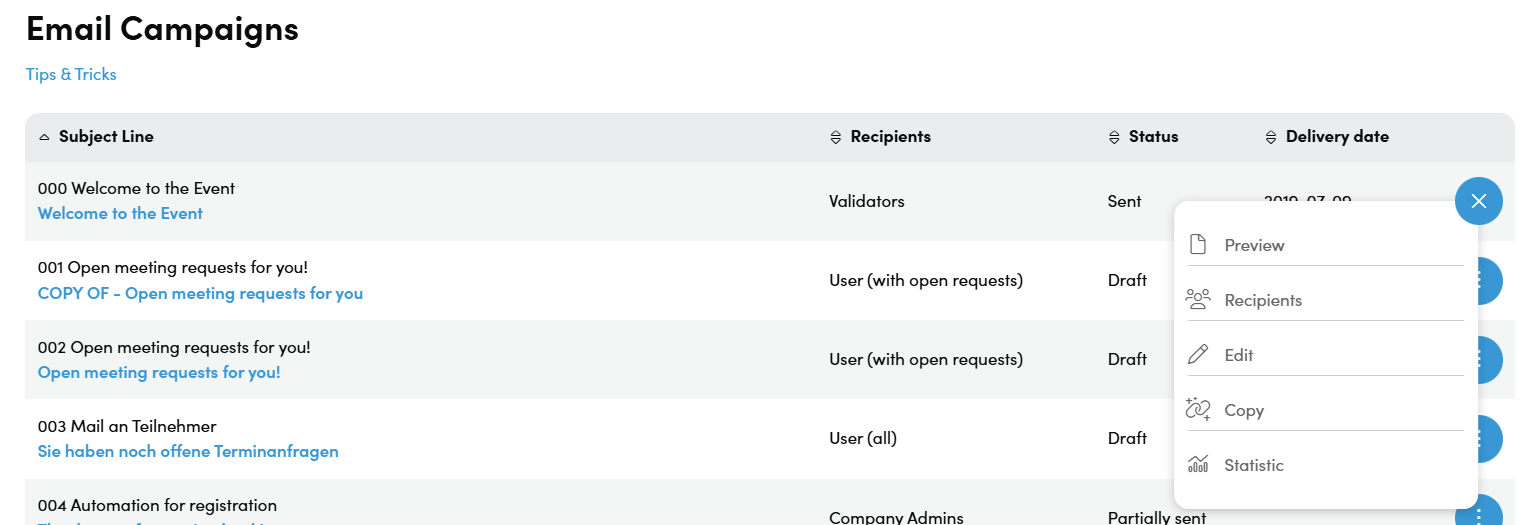
Click the elliptical menu (three dots) next to the campaign name and select Copy.
-
A duplicate will be created and listed as a new campaign. This copy can be used as a template by updating only the necessary fields (e.g., subject line, body content, recipient group).
Email Campaign Menu and Management Action Options
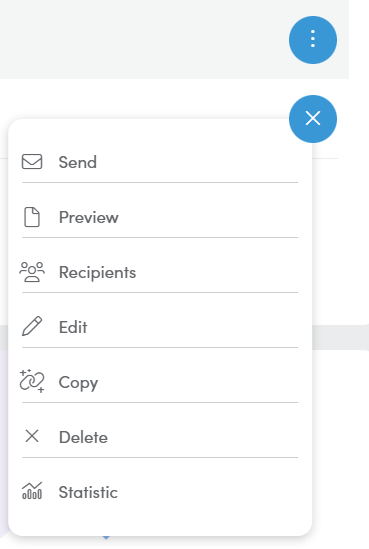
Each Email campaign includes a set of management actions. These options allow for sending, editing, reviewing, and tracking campaign performance.
-
On the Email Campaigns page, locate the campaign to manage.
-
Click the elliptical menu (three dots) next to the campaign name.
-
Choose one of the available Menu Options:
-
Send – Initiate the delivery of the campaign to the selected recipients.
-
Preview – Open a web or email preview of the campaign before sending.
-
Recipients – View recipient status (sent, read, or pending) and access resend options.
-
Edit – Open the campaign for further modifications.
-
Copy – Duplicate the campaign to use as a template for a new one.
-
Statistics – Review engagement data such as open rates and delivery metrics.
-
Refer to and Tips & Tricks at the top of the Email Campaign Window for guidance on best practices when creating and sending email campaigns. These suggestions can help improve deliverability, engagement, and overall campaign effectiveness.