Dashboxes Explanation
Dashboxes are content elements that are displayed to logged-in users on their dashboard, their individual start page. Which dashboxes are displayed is influenced by various factors. These include the user category, the status of the company and personal profile, the actions the user performs on the platform and their language setting.
There are generally 2 types of dashboxes, system dashboxes and admin-created dashboxes.
System dashboxes contain automatically generated content and information that is relevant for the user. These can be activated or deactivated individually by the admin. A list of possible system dashboxes can be found below.
Admin-created dashboxes are dashboxes that an admin has created and filled with content.
Creating a dashbox
To create an individual dashbox, proceed as follows:
- In the backend go to Event Website Builder-> Dashboxes.
- Scroll down and click ‘Add dashbox’
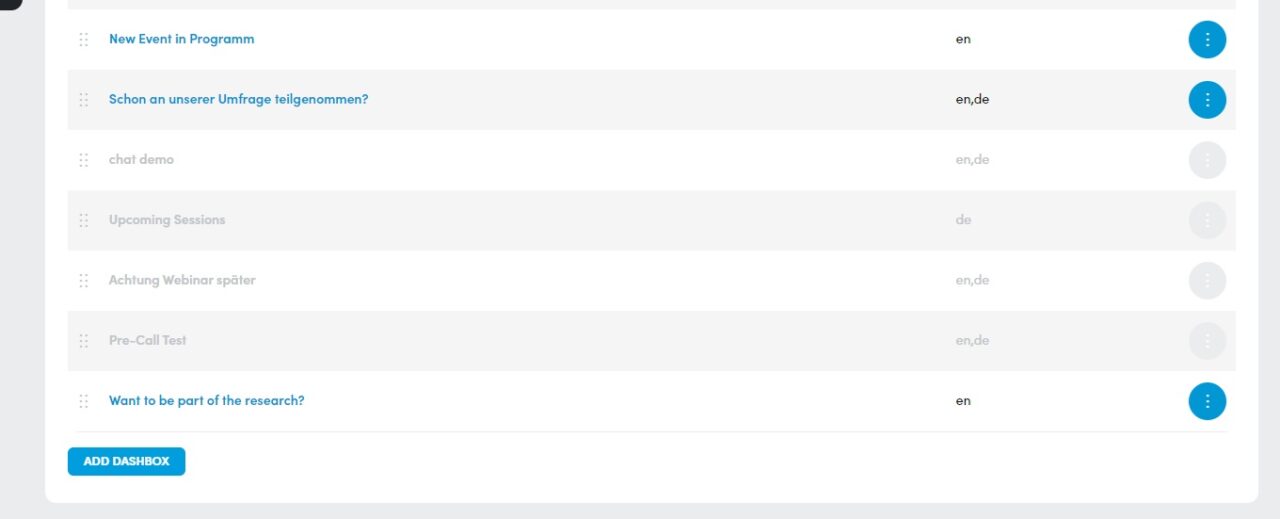
The order of the dashboxes in this menu also changes the order in which they are displayed on the dashboard..
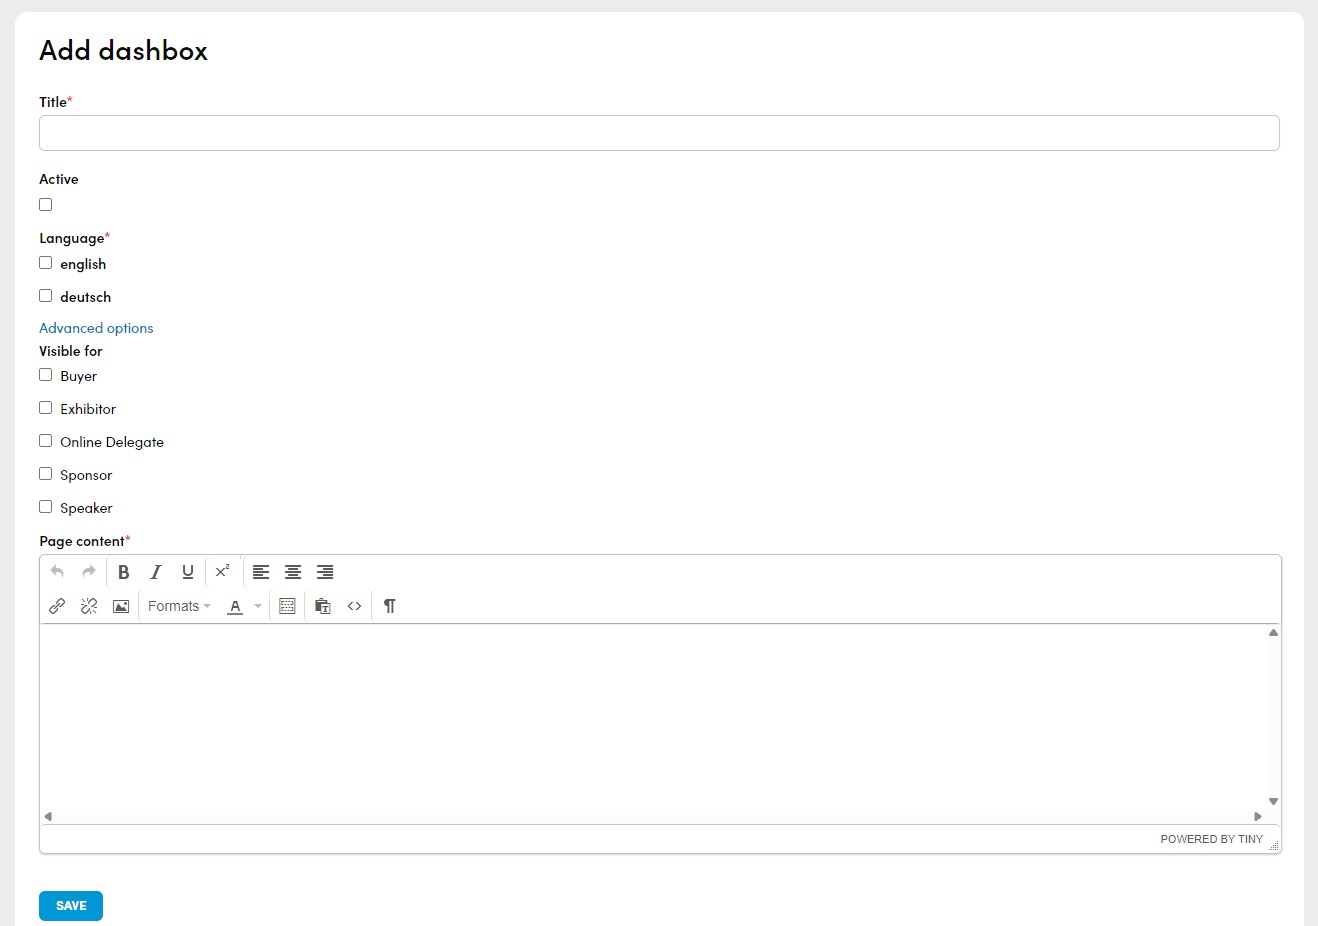
- Enter the desired title for the dashbox..
- Check the ‘Active‘ box to make the dashbox visible on the dashboard (you can also do this later and simply create and save a dashbox that you want to publish at a later date).
- Enter the desired language.
(You can display the same dashbox for each language, create an individual version for each language or create a box for one language only). - In the ‘Advanced options‘ you can make the dashbox visible only for certain categories. If you do not select anything, the dashbox is visible for every category.
- Enter the content.
(Dashboxes can also contain links, images and iframes [e.g. in videos]). - To save the current status, click on ‘save and continue editing‘. To save and return to the overview, click on ‘save and go back to index‘.
Images in Dashboxes
- In the backend go to Event Website Builder-> Dashboxes.
- Scroll down and click ‘Add dashbox’ or click on a dashbox title to edit an existing Dashbox.
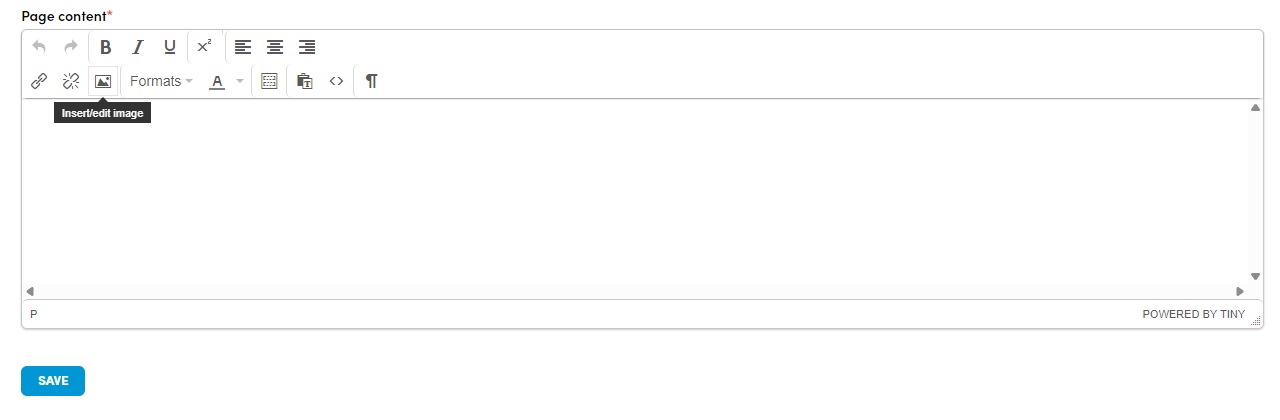
3. To add a picture to a dashbox, click on “Insert/ Edit Picture” (the picture icon) in the Content Editor
4. A pop-up will open. Click on the folder/ magnifying glass icon next to the “Source” field and select the corresponding image from your data carrier.
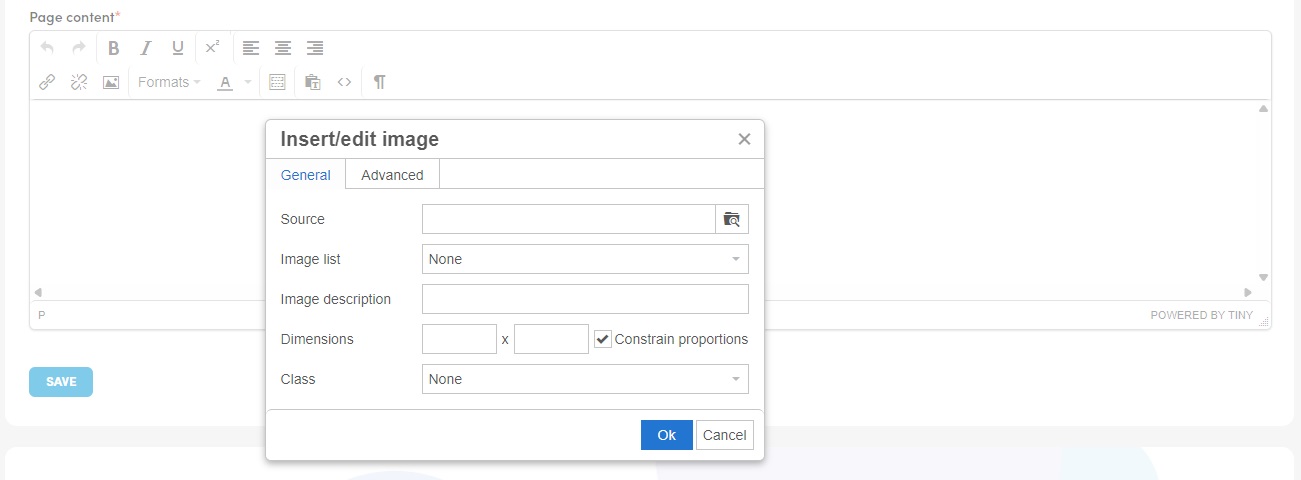
3. Wait until a link appears in the source field and click on “OK“.
You do not need to make any further settings here.
Links in Dashboxes
- In the backend go to Event Website Builder-> Dashboxes.
- Scroll down and click ‘Add dashbox’ or click on a dashbox title to edit an existing Dashbox.
3. To add a website link to a dashbox, click on “Insert/ Edit Link” (the chain icon) in the content editor
4. A pop-up with several fields opens. The following are important:
URL: Enter the URL of the page you want to link to here. Including “https://”
Text to display: Enter the word(s) that should appear in the text in place of the URL and link to the target page.
Target: Here you can select whether the target page should open in the same tab (NONE) (and thus close the platform) or in a new tab / window (NEW WINDOW). If it is an internal link we recommend NONE, for all external links we recommend NEW WINDOW.
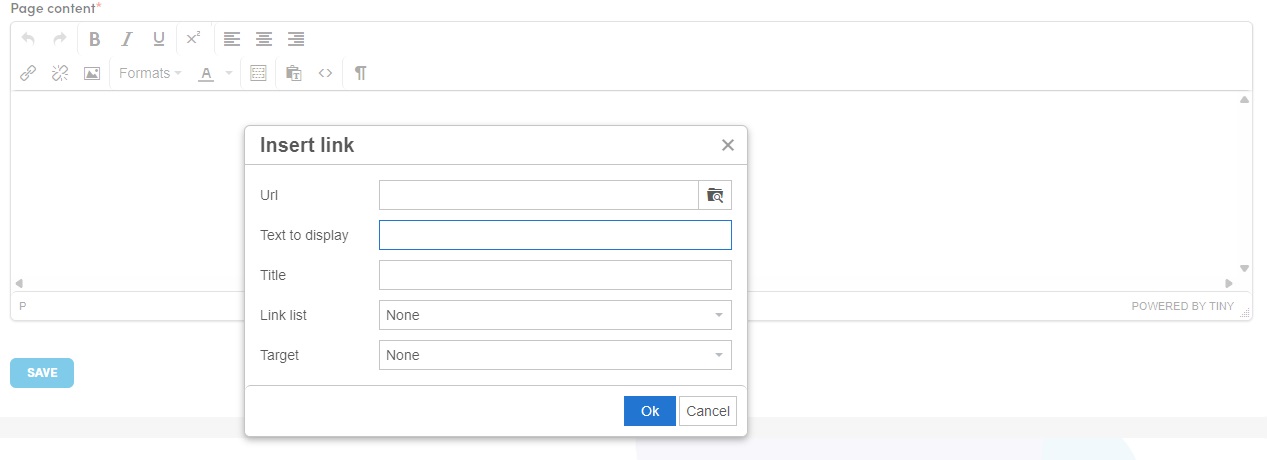
3. Once you have made all the settings, click on “Ok”. The place in the text that contains the link is displayed in your platform color and changes color when you move the mouse pointer over it.
Of course, you can also link to pages within your platform. We recommend that you select “NONE” for Target.
Downloads in Dashboxes
To add a download link to a dashbox, proceed as follows.
- In the backend go to Event Website Builder-> Dashboxes.
- Scroll down and click ‘Add dashbox’ or click on a dashbox title to edit an existing Dashbox.
3. In the Content Editor click “Insert/ Edit Link” (the chain icon)
4. A pop-up with several fields opens. The following are important:
URL: In this case, click on the “Folder / magnifying glass” symbol next to the URL field and select the file from your drive that you would like to make available as a download.
Text to display: Enter the word(s) that will start the download.
Target: Here you can select whether the download should open in the same tab (NONE) (and thus close the platform) or in a new tab / window (NEW WINDOW). We recommend NONE, for downloads.
3. Once you have made all the settings, click on “Ok”. The place in the text that contains the download is displayed in your platform color and changes color when you move the mouse pointer over it.
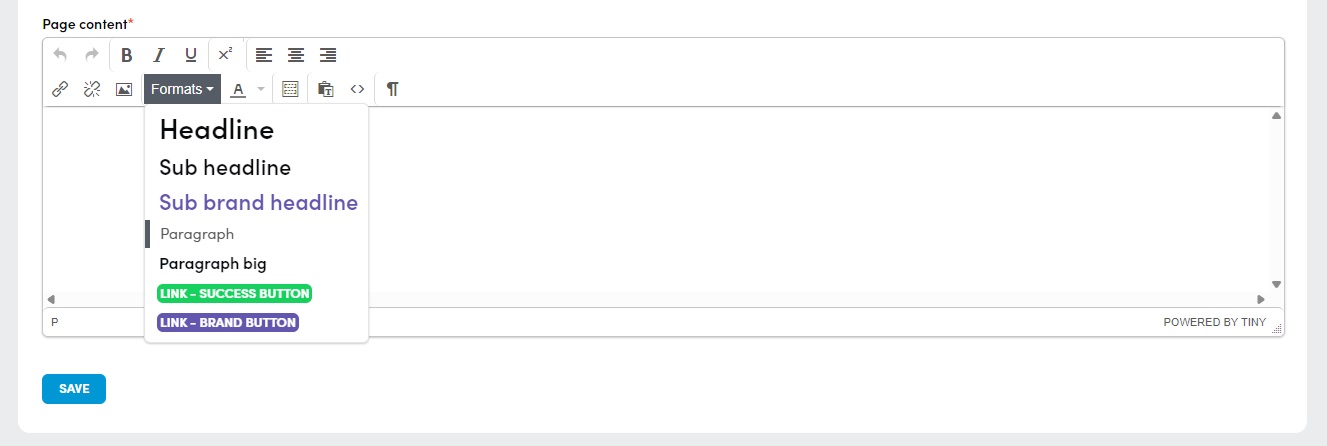
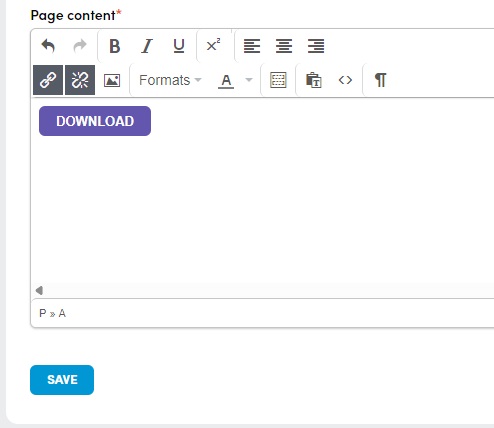
To highlight your link / download, you can also turn it into a button in the editor using the “Formats” menu item.